How to get GitHub Pinned Repos?
As a passionate Software Developer, I thrive on crafting dynamic and user-centric applications. With a strong foundation in full-stack development, I'm dedicated to delivering top-notch experiences through robust code and innovative solutions.
What we will Create?
We all have repos pinned on our GitHub Profiles so, today we will create a REST API that will scrape and return these pinned repos.
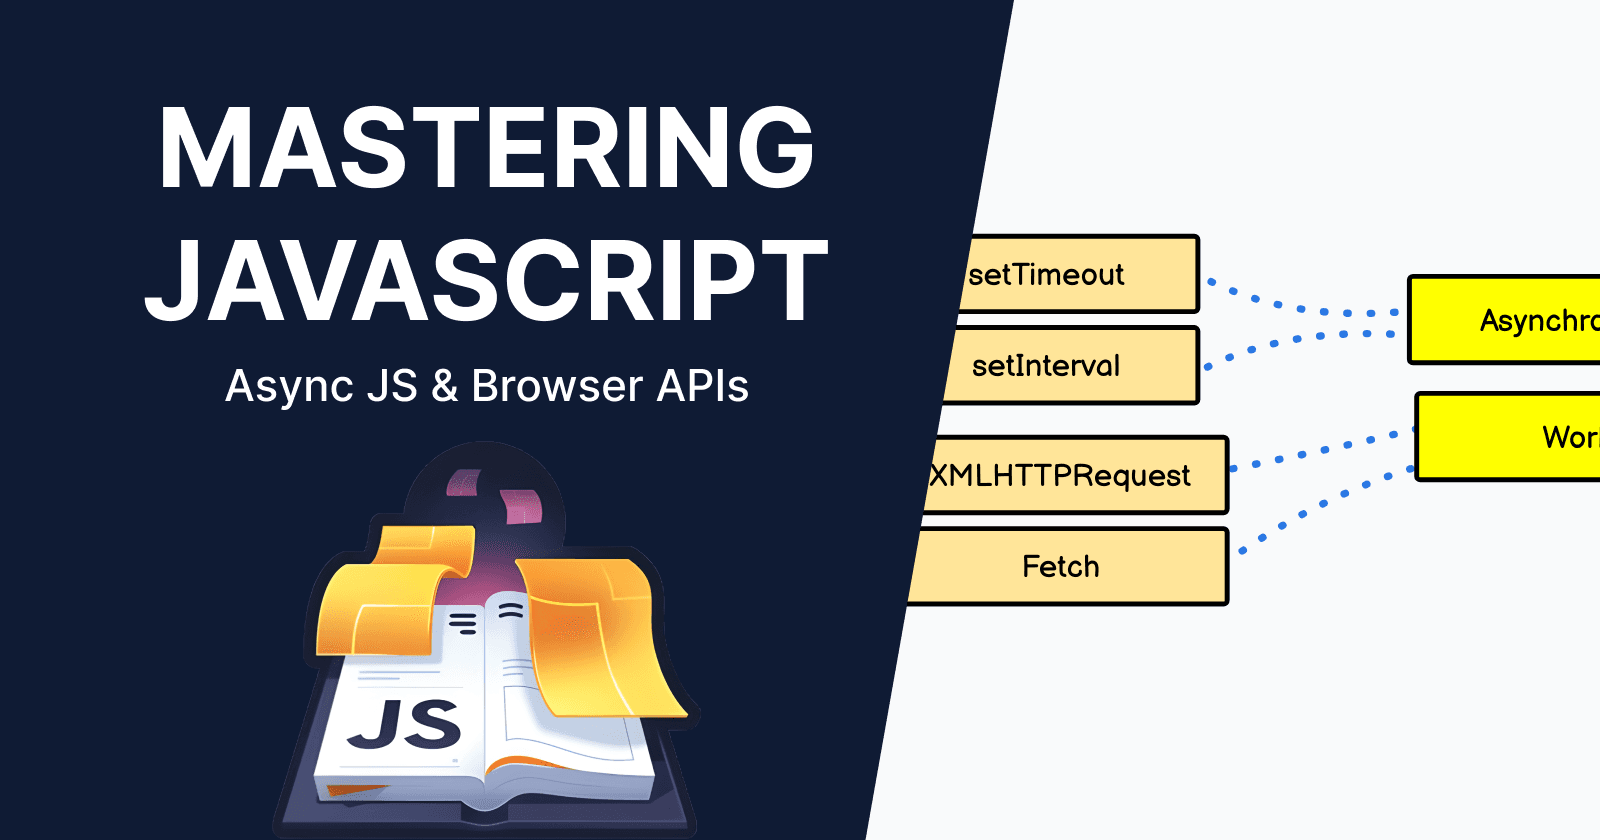
Tech Stack
- Node.js: to write a server application in JS.
- Express.js: to listen and serve API requests easily.
- Axios: to make API requests.
- Cheerio: to scrape data from websites.
Creating our app
Initializing
Run the following commands in your terminal to create some files and a folder
mkdir util
touch server.js util/capitalize.js
and initiate the app.
npm init -y
Also, install the required dependencies and open the app in an editor.
npm i express axios cheerio
Writing our utility function capitalize.js
Before moving forward, we will create a function that will be utilized later to capitalize each word of a String.
const capitalize = (string) => {
    return string
        .split(" ") // Splits a string that has white spaces in it and creates an array that contains each word seperately.
        .map((str) => str.charAt(0).toUpperCase() + str.slice(1)) // Loops through each word, capitalizes the First word and returns an array of the words.
        .join(" "); // Joins the words in the array with a whitespace in between.
};

module.exports = capitalize;
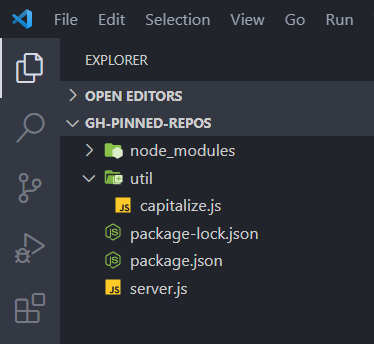
Your project's file structure should look something like this:
Writing our server.js
Importing dependencies
Now, we will start building our server application and import all the necessary packages and modules.
const express = require("express");
const cheerio = require("cheerio");
const axios = require("axios");
const capitalize = require("./util/capitalize");
Running our app for the first time
Using app.listen(<PORT Number>, <Callback function>) we will listen on port 3000.
const app = express();

const port = 3000;
app.listen(port, () => console.log(`Server listening on port ${port}`));
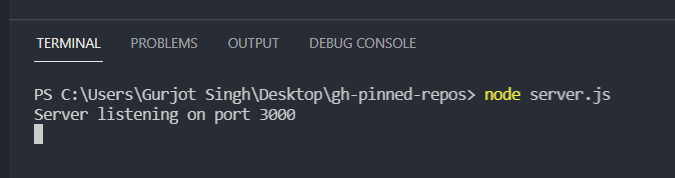
Now, if you run node server.js in your terminal, you will see something like this:
Installing and using nodemon [Optional]
Running node server.js in the terminal manually every time you make a change in your files can be tiring so, we got nodemon package to the rescue.
Just install it
globally using:npm install -g nodemon
OR
locally in your app using:npm i --save-dev nodemon.Then run
nodemon server.jsin the terminal instead ofnode server.js.
getPinnedRepos()
This is the main function of our app. It is an asynchronous function that takes 1 parameter username of type string.
Note: Right now, just for testing we will call
getPinnedRepos()directly and pass a valid GitHub username likeblink98to it. Later when we will create our route then, we will only call it inside that route.
At the beginning of the function, include a condition that will return an empty array if there is no username.
if (!username) return [];
So, far this is how the server.js should look.
const express = require("express");
const cheerio = require("cheerio");
const axios = require("axios");
const capitalize = require("./util/capitalize");

const app = express();

const getPinnedRepos = async (username) => {
    if (!username) return [];
};
getPinnedRepos("blink98");

const port = 3000;
app.listen(port, () => console.log(`Server listening on port ${port}`));
Now, insert this snippet after our if statement in getPinnedProjects().
try {
   const url = `https://github.com/${username}`;
   const { data } = await axios.get(url);
   const $ = cheerio.load(data);
   const pinnedRepos = $(".pinned-item-list-item-content");

   let repos = [];

   return repos;
} catch (error) {
   if (error.response.status === 404)
      return {
         status: 404,
         msg: `No Github profile with this username: https://github.com/${username}`,
      };
   return error;
}
Before moving forward let's understand what the above snippet means:
The try block
- We are making a
.get()call using axios and receiving the entire DOM as a string. - Then, we are using
cheerio.load()to convert the string into markup for easy traversing. - Afterwards, we save a list of all elements that have a class of
.pinned-item-list-item-content, in a similar way as we do with Vanilla JS'squerySelectorAll()or JQuery. - Finally, we are just declaring an empty array and returning it.
The catch block
- We are checking for a status code of
404from Githubhttps://github.com/<username>. - If we get a
404response then we further return a status of404and a relevant message. - Otherwise, if it's some other code then, we simply return the entire "error" as it is.
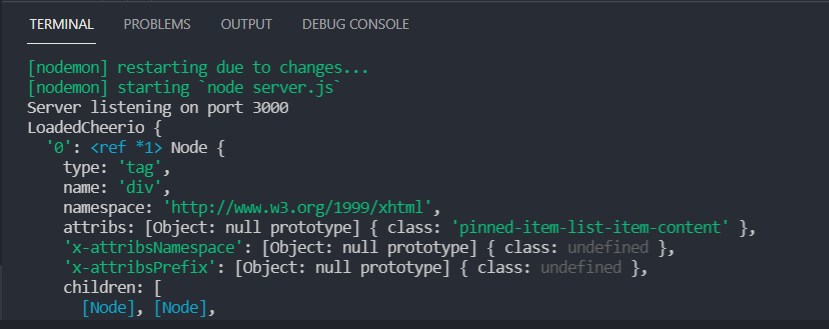
Now, if you do console.log(pinnedRepos) just after declaring it, you will see that what we get is not an array but a lot of nested objects and other things.
We cannot obviously loop through it using our in-built JavaScript methods so, Cheerio provides us with a special method called .each() that can be applied to these returned values. Remove console.log(pinnedRepos) and add the following snippet just above return repos.
pinnedRepos.each((index, element) => {

});
Now that we can access each element one by one from pinnedRepos, we need to extract 3 properties: name, url and description from each of them.
Exercise [Optional]
You can also try extractinglanguage,starsand other available properties for self-practice.
We can extract them by using:
const repoName = $(element)
   .find("span.repo[title]")
   .text()
   .replace(/\n/g, "")
   .replace(/-/g, " ");

const repoUrl = `${url}/${repoName}`;

const repoDescription = $(element)
   .find("p.pinned-item-desc")
   .text()
   .replace(/\s\s+/g, "");
repoName
- We first use
.find()method to find a<span>that has a class ofrepoand an attributetitle. - Then, we use
.text()method to get the text value (similar to Vanilla JS's.innerText). - Finally, we use
.replace()andregexto remove\nfrom the resulting text values.
repoUrl
We also used repoName to create the repos URL.
repoDescription
Similar to repoName, we also find a <p> that has a class of pinned-item-desc and removed its white spaces using .replace() and regex.
Finally, we push the extracted values inside our repos array.
While pushing repoName into our array, we will replace each - with white space using regex and also capitalize it using our utility function.
repos.push({
   name: capitalize(repoName),
   url: repoUrl,
   description: repoDescription,
});
Voila!! Our getPinnedRepos() is completed... 🎉
Creating routes
Now, we will create a route using app.get() that will provide us with a path parameter username and we will pass an asynchronous function to it that will execute our logic whenever a call is made at /<github username>.

Inside this asynchronous function, we will use the req.params.username to access the username and pass it in getPinnedRepos() and return either the error message or pinned repos.
Replace getPinnedRepos(<your username>) with the following:
app.get("/:username", async (req, res) => {
    const result = await getPinnedRepos(req.params.username);

    if (result.status === 404) {
        res.status(404).send(result);
    } else {
        res.send(result);
    }
});
Concluding
Congratulations on surviving so far...😅.
If you have any doubts or issues, feel free to use the comment section and I will try my best to help you out.
I have planned some more features for this app that I will explain in another blog. I wanted to keep this one as simple and beginner-friendly as possible.
Thanks for reading!!